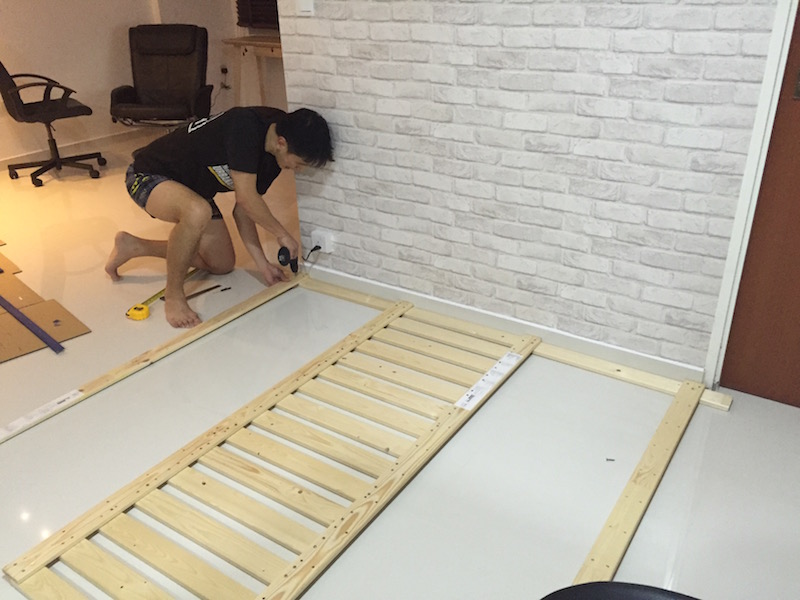
We wanted a stabilising structure as the backing for our wardrobe. The IKEA’s Mandal headboard appeared to be the first choice. However, it had been phased out from our local stores. So we decided to build one from scratch. Happy with the end result. Even happier considering the total cost (S$249) versus if we were to get the Mandal.
No prize for guessing which side of an IKEA wardrobe is the ugliest. Given our desired layout with a walk-in wardrobe, it is inevitable the unpleasant sight had to be fully exposed.
Not wanting to wake up each morning to this view, we were on a mission. We set off to create a dual-function apparatus. One to inject some aesthetics into this view. Two to secure the wardrobe from toppling over. Here’s the end result and how I did it:
Make a detailed sketch to-scale
This gives you an impression how it would eventually look. Plus you’d know how many pieces of wood planks you need. This is my version, done simply on powerpoint:
Get your stuff
It’s time to visit your local IKEA and hardware store. Here’s the list of equipment and items that I used:
1. Stolmen post 2x ($118)
2. Stolmen brackets 8x ($20)
3. Sultan Lade 4x ($80)
4. Long wood 4x ($10)
5. L-brackets ($4)
6. Screws ($15)
7. Bolts and Nuts ($2)
8. Screwdriver (a battery-powered one is your ideal companion. otherwise, a normal one works just fine)
9. Saw
10. Measuring tape
11. Ladder
Fix the Stolmen posts
Refer to IKEA’s manual for more details.
Prepare the planks
Remove all the string and staples from the planks.
Measure and saw the plans to your desired lengths. An electric jigsaw saved me a great deal of effort in getting the cut-line straight without breaking a sweat.
Start from the mid section
With a measuring tape/ruler, make sure the horizontal planks do not extend beyond the vertical planks’ width’s halfway point.
Double-sided tape was used to temporarily stick the planks together. Then, overturn the whole panel and secure them with screws. This way, no screws will be visible.
Build the frame for the left and right sections
First, screw the top-most and bottom-most horizontal planks to the third vertical plank.
Screw the remaining pieces to the left and right sections
Using the horizontal planks in the mid section a a guide, simply align and screw ‘em all in.
Prepare the brackets
Connect the L-bracket to the IKEA Stolmen bracket with a bolt and nut. For my panel’s size, I needed 8 pieces of this.
Next, fix the brackets to the Stolmen posts before placing the entire panel onto them. For this step, it is best to temporarily move the wardrobe away to allow more room to manoeuvre. Finally, secure the panel to the brackets with screws.
Decorate to your fancy


3 replies on “House Hack #1: Multipurpose Wooden Partition”
[…] We wanted a stabilising structure as the backing for our wardrobe. The Ikea’s Mandal headboard appeared to be the first choice. However, it had been phased out from our local stores. So we decided to build one from scratch. Happy with the end result. Even happier considering the total costs versus if we were to get the Mandal. Read more about the steps here […]
[…] We wanted a stabilising structure as the backing for our wardrobe. The Ikea’s Mandal headboard appeared to be the first choice. However, it had been phased out from our local stores. So we decided to build one from scratch. Happy with the end result. Even happier considering the total costs versus if we were to get the Mandal. Read more about the steps here […]
[…] more home hacks, check out here and […]